Tuesday, April 27, 2010

Tofu (fail)

The History:
Tofu originated during the Han dynasty in China, then spread to Korea, Japan and the rest of East/Southeast Asia. (The spread of tofu is correlated with the spread of Buddhism and the vegetarian Buddhist diet.) Perhaps not linked to the spread of Buddhism, the first tofu company started in the US in 1878.  Fascinating.

The Process:
I was curious about how to make tofu, and whether homemade tofu would actually be better than store-bought. I've become a pasta snob after learning how to make my own noodles, and I was tempted to throw away my package of Trader Joe's potstickers after perfecting my own recipe over the last few weeks. Tofu was a different story.

I read a few recipes, most seemed straightforward, so I bought some organic non-GMO soybeans, and wandered the aisles of the local Asian food store until I found the coagulant that most recipes recommended: gypsum. This creeped me out a little- isn't gypsum a construction material? Should I really consume it? Apparently it is calcium sulfate dihydrate (CaSO4-2H20)... calcium! Innocuous, right?

I located a helpful looking blog, and set to work.

The Recipe:
Considering that (warning, spoiler) this project was somewhat of a failure, I hesitate to give a detailed recipe. If you are set on making your own homemade tofu, see the blog mentioned above for better, more optimistic instructions. Otherwise, buy some locally made, fresh tofu. If you're living in the New Haven area, I highly recommend Bridge Tofu, which, (if tofu can be mindblowing) blows my mind.


However, the basic steps are:
1. Soak a pound of organic non-GMO soybeans in water overnight. They'll absorb all the water.
2. Put soybeans and an equal amount of more water in your blender.
3. Blend until beans are a beige slurry (or until your blender starts smelling like overheated plastic, whichever comes first.)
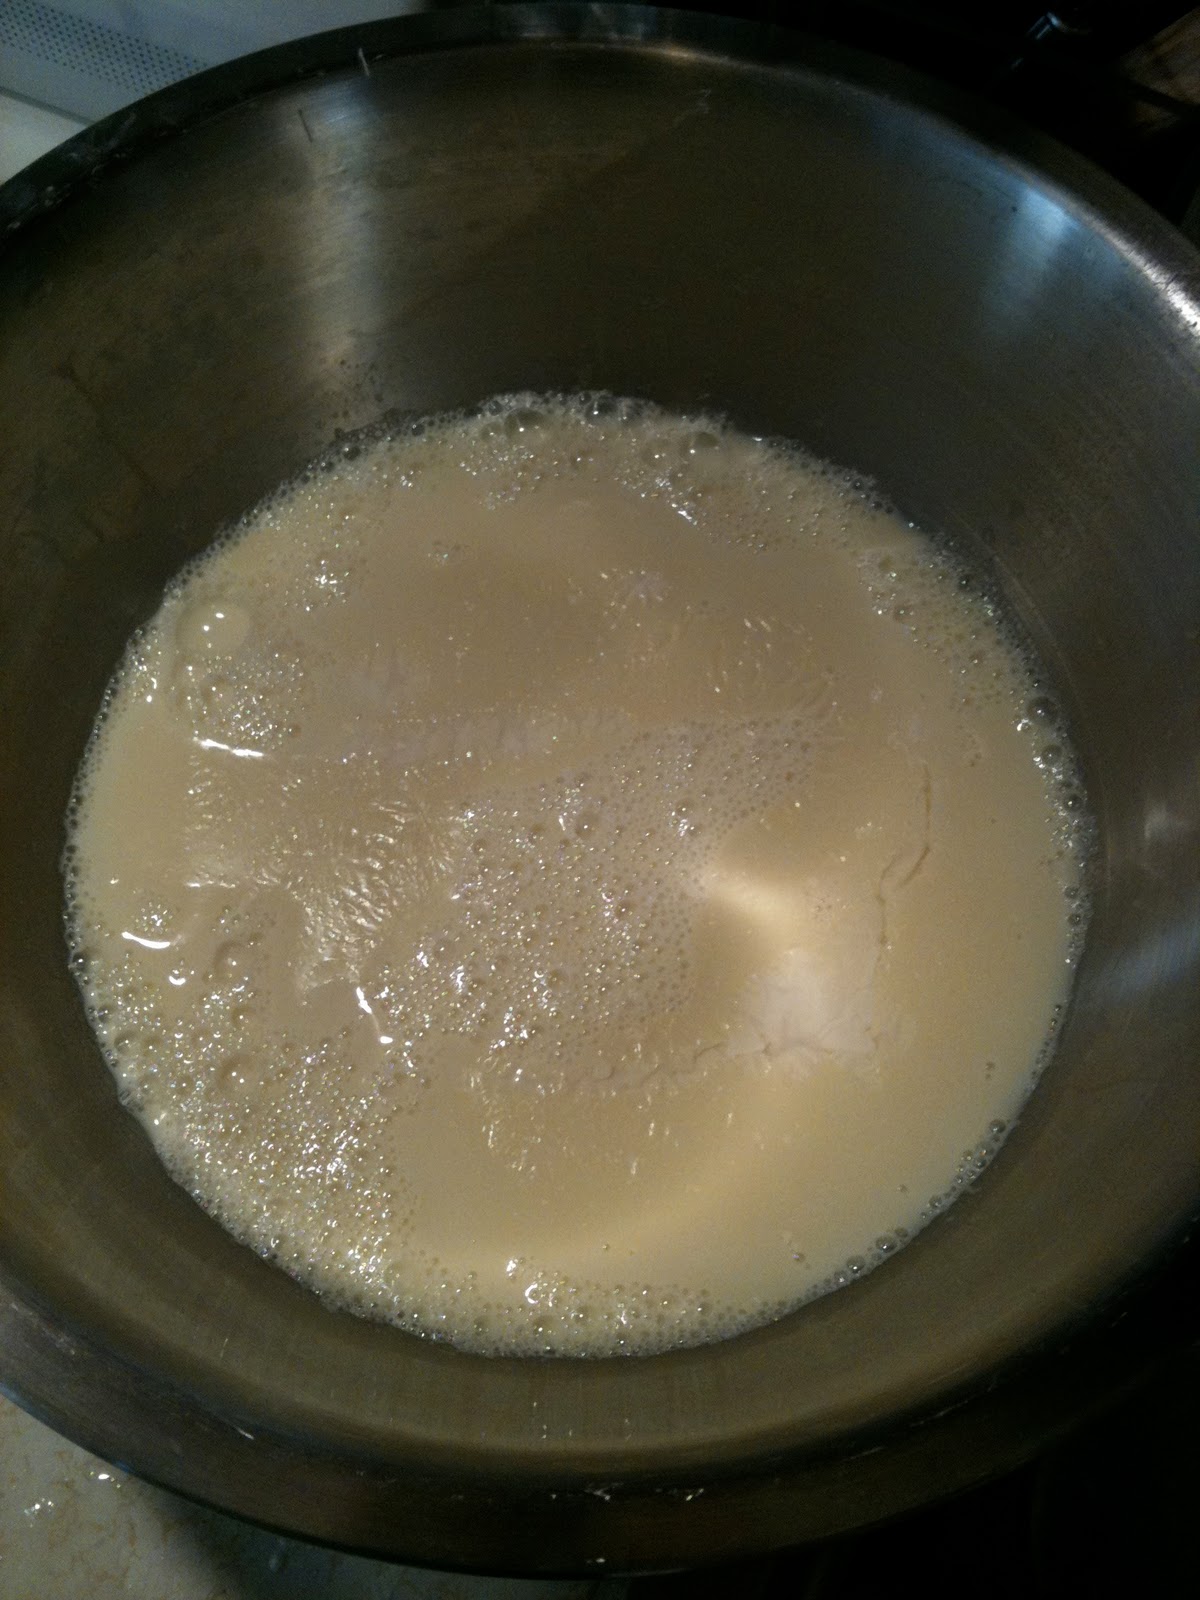
4. Boil slurry with another equal amount of water for 30 minutes. Skim off foam.
5. Strain slurry through cheesecloth and a colander. (The grounds are apparently healthy. They're called 'okara' but I was not tempted to cook with them. Some people do. You can just throw them away or compost them.)
6. Reheat the soymilk (yup! the liquid is soymilk!) to 155 degrees, then remove from heat, add 2 teaspoons of gypsum dissolved in water. Stir a few seconds, and let sit for about 30 minutes.
7. While the tofu is coagulating, create some sort of tofu mold. I attempted something with a milk carton that failed, then used a handkerchief, that also failed.

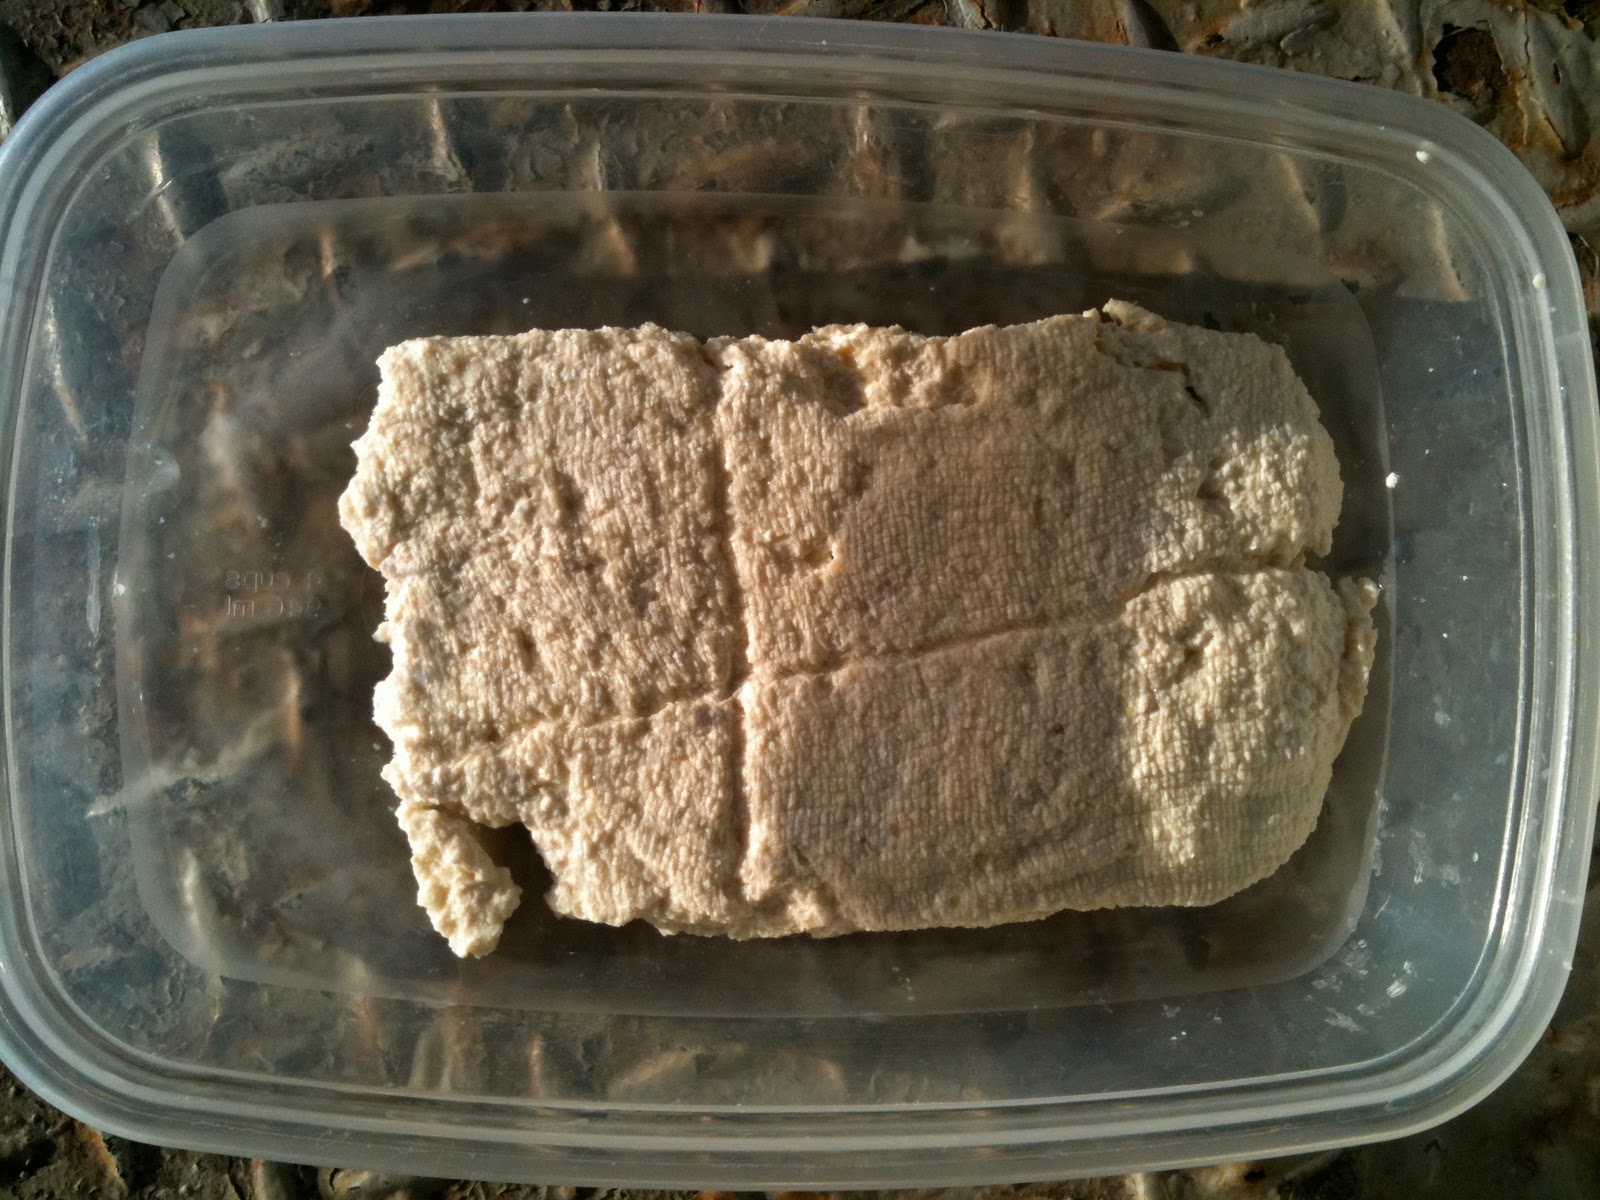
8. Pour the tofu mixture into a cheesecloth lined mold. Apply pressure to help the whey drain off. After about 30 minutes with solid pressure, you'll have made tofu. In theory.

The Results:
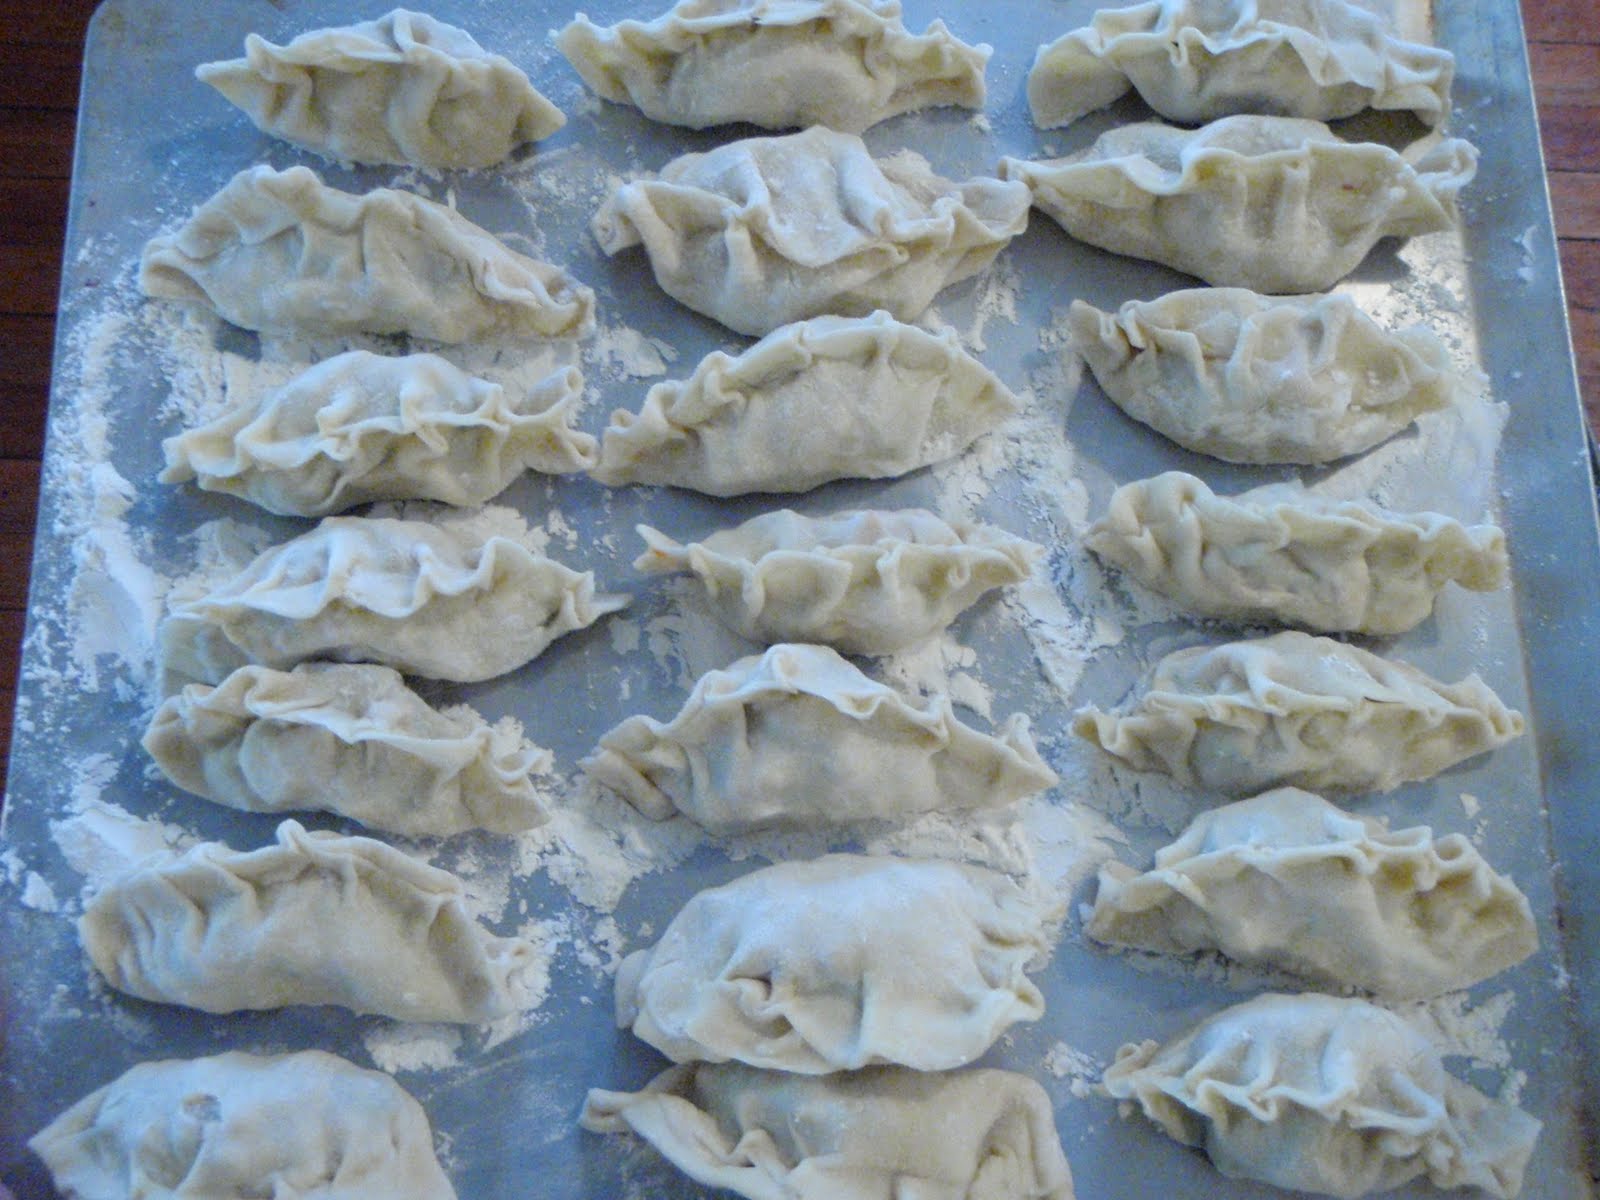
I took the lump that we'll call 'tofu', sauteed some pieces in olive oil and splashed some soy sauce on it. I had a few friends over who agreed to test it out. We all agreed that it tasted eggy--edible, but eggy. I had made two batches, and the second batch (that I hung in a handkerchief and squeezed) was, well, awkward. I wasn't particularly inspired to cook with it, so I made it into another (my 3rd!) batch of potstickers, which masked the flavor and texture of my homemade tofu well.

Would I make it again? No. Unless I was assisting a kid with a science project, I'd avoid homemade tofu. It was messy, time-consuming, and the end result was not worth the effort. I recommend purchasing fresh tofu from your local bulk-foods or natural foods store.

But... now I know! And I'll appreciate Bridge Tofu more the next time I cook with it!

Tuesday, April 20, 2010

Hot sauce

The History: 
Hot sauce is a ubiquitous condiment found around the world. One of my favorite things about traveling is trying hot sauces in different countries- Panama's "Killin' me man" Sauce, Samoa's "Samoa's own" chili sauce, homemade salsa in Mexico, chili paste in Korea, Puerto Rico's "Pique Criollo", and pretty much any other home made sauce found in hole-in-the-wall restaurants. Why shouldn't I invent my own variety?


The Process: I decided to use habanero peppers, which are among the spiciest sold in grocery stores. I have a little vodka recipe I've been making for years, which involves putting several pineapple slices and some cut up habanero peppers in a bottle of vodka, letting it sit for a few days, then serving potent, spicy pineapple martinis to willing guests. Given my affinity for habanero peppers and tropical fruit, it seemed fitting that I create a hot sauce from these ingredients. I did a few google searches but it seemed easiest to just invent something rather than follow any recipe.

The Recipe:
Easy! I sauteed a diced onion, several garlic cloves, and a julienne'd ripe mango (we recently invested in a mandoline vegetable slicer making the kitchen an even more fun and dangerous place to be) in olive oil, added a sprinkle of salt and 7 or 8 loosely chopped habanero peppers. (I wore rubber gloves.) Then, I pureed the mixture in my food processor, and returned the mixture to the stove, and added a splash of vinegar. I tasted it, added a bit more salt, and deemed it perfect. (Nathan did not. His tongue burnt for hours. I might take this opportunity to suggest that you add 2 or 3 habanero peppers if you live with a spice-sensitive individual. I think I'll be the only one consuming this sauce.)

The Result: I LOVED it. I added a teaspoon to a mashed up avocado and it made a delicious guacamole (two days in a row.) I dipped chips in just the plain hot sauce. I spread the hot sauce on chipotle chicken tacos. I added a dollop to a bowl of chili. It's great! I will definitely make another batch when I finish this one, though I may use less habanero so Nathan can enjoy it too. 

Monday, April 12, 2010

Dolmades

The History
Dolmades, or "Dolmas" come from the cusines of the former Ottoman Empire, such as Turkey, Cyprus, and the Balkans. In the States, we're used to getting dolmades from our local Greek or Turkish restaurant that contain rice rolled inside grape leaves, but dolmades are actually a wider family of foods – pretty much any combination of rice, minced meat, vegetables and seasonings rolled in another vegetable (or grape leaf) are considered dolmades. There appears to be an infinite variety of dolmades, but I chose to focus on the type typically sold around here.


The Process
Like many of my previous foods, dolmades seemed mysterious and fancy; the sort of thing (like pierogi or potstickers) that should be purchased from an ethnic restaurant. I found, though, that they are easy to make, and even more delicious when they're homemade. I googled and immediately found a few simple recipes, all involving grape leaves with either a stuffing of rice or minced meat. Since we're mostly vegetarians, I went with the rice stuffing. It took me an easy half an hour to make the stuffing, another 10-15 minutes of rolling, and then about 20 minutes of steaming/frying/boiling (I don't really know what the technique was) to cook them. The hardest part was locating the grape leaves. Luckily, we have a delicious middle eastern market (The One Stop Mart and Deli) a few blocks away. It sells usual corner mart type goods (toilet paper, candy bars, chips, sodas) but also has a small shelf with grape leaves, kalamata olives, couscous and spices. (And the deli sells fantastic falafel pita sandwiches, too!) I bought a large jar of grape leaves, and headed home.


The Recipe
Super easy. Saute a diced onion in a pan with olive oil. As it's cooking, add a handful of pine nuts, a generous sprinkle of raisins or currants, some chopped parsley and mint, a squirt of lemon juice, salt, pepper, and finally, about a cup to a cup and a half of uncooked rice. I prefer to use brown rice or wild rice (I think white rice would be too starchy and don't recommend it, plus it's nutritionally kind of pointless). Add water to the frying pan until the rice is just covered, then cook on low-medium heat until the rice is partially cooked. At this point the stuffing should have absorbed most of the water.


Rinse the grape leaves in cold water for a few minutes. (The leaves come in a jar filled with brine.) Lay them out flat on a counter, shiny side down, and fill in any holes with smaller leaves. Take about a tablespoon of the stuffing, and place in the center of the leaves. First, fold the bottom (stem side) part of the leaf up, then tuck in the sides, and finally roll up into a cigar shape, so that no rice can get out. It may take a few tries. Don't roll the leaves too tightly- you're going to cook them again and the rice will expand a bit. It sort of seems like they might fall apart or disintegrate, but as long as the leaves are intact, you'll be fine.

Once you've rolled up all your stuffing, arrange the dolmades in the frying pan until they're all snuggled in with each other, then add the juice of a lemon, a generous splash of olive oil, and add water until the dolmades are almost covered. Then, place a plate on top of the dolmades, in the frying pan to hold the dolmades in place. (It helps.) Boil them in the pan on medium-low heat for about twenty minutes, or until most of the water has been absorbed.

This type of dolmades are typically served cold, but were also great eaten hot when I was impatient and scarfed a few down to "test" them.

Sometimes they're served with a yogurt sauce- plain yogurt, diced cucumber, salt, lime, cumin... but I was lazy. I'm sure it would have been yummy but they had plenty of flavor without the sauce.


The Results
Totally easy, totally delicious and really healthy. I think they'd make a great lunch- you could make a few dozen over the weekend, then take 5 or 6 to work as part of a lunch. They'd also make an easy appetizer for a party! There's no hard and fast rule for the stuffing, so it's a great experimental recipe. I think you'd have to work pretty hard to mess them up! Enjoy!

Sunday, April 4, 2010

Potstickers

The History: 
 Potstickers, also called Jiaozi, are Chinese dumplings, and very similar to Japanese Gyoza, and apparently the Nepali have their own version with lots of spices. (Next time...) According to the ever-helpful Wikipedia, potstickers were invented by a famous practitioner of Chinese medicine, Zhang Zhongjing, who used them to treat frostbitten ears. (I'm not kidding. And I'm not really sure HOW they prevent frostbite. Do you apply them to the ears? Does the mere act of eating them prevent the affliction? Unsure. Thoughts?) Luckily, New Haven was a sultry 68 degrees today so frostbitten ears were not the purpose for today's culinary experiment.

The Process: 
 I consulted about 15 food blogs to figure out how to make potstickers, most seemingly written by Chinese-American women following very strict rules from their mothers on the ideal potsticker recipes and cooking techniques. At first, I was intimidated- it seemed that so much could go wrong! But after my success with pasta, my confidence was bolstered and I felt prepared to tackle a seemingly elaborate dish. One particular blog laid out the process really well, and if you tackle potstickers (which you should! You'll never go back to the Trader Joe's version!) I recommend taking a look at her description and pictures of the process, although I encourage you to invent your own filling (I don't eat pork or shrimp, so I used her filling recipe as a guide.) Potstickers turned out to be really easy, though messy. (It seems like everything I make is messy- maybe it's just me.)
The Recipe:
There are three components to this dish, and each recipe is really simple, requiring very little in the way of measurement. (Hooray!)
The wrapper: Combine about 1.5 cups of flour with enough warm water to form a dough, plus a little salt. Knead until mixed, then set aside to relax and let the gluten do its thing.
The filling: We mainly eat vegetarian, so I used a brick of firm tofu (I love the local brand, Bridge Tofu- it's amazing what a difference fresh tofu makes!), crumbled. I added diced green onion, cilantro, a ton of ginger, garlic, some diced snow peas and shredded carrots, a handful of frozen spinach, a sprinkling of chili flakes, a splash of sesame oil and soy sauce, and a scrambled egg (to hold it together when it cooks). Mix, set aside. You can make filling with ground pork or raw shrimp, chicken, or egg, and/or add your favorite vegetables (most recipes called for Napa cabbage but we didn't have any, but some sort of crunchy vegetable is ideal.)
The sauce: Mix together any of the following ingredients in your soy sauce: fresh ginger, garlic, cilantro, green onion, sesame seeds, sesame oil, lime juice, vinegar, chili flakes, honey. Set aside to chill in the fridge.

Now, to assemble! Give the dough a few more kneads, then snip off bits about the size of a cherry tomato. Roll each dough bit into a ball, then using a rolling pin (or a wine bottle) flatten the dough into a circle shape, using your fingers to pull the dough until it's a bit larger than your palm. Spoon about a tablespoon of the filling into the center of the dough, then fold the dough in half. At this point, you fold the dough together, pleating as you go. This doesn't need to be pretty (see mine.) It takes about 3-5 potstickers to master the technique. As long as they are sealed all the way around, you'll be fine. Attractive potstickers are a bonus. Place the completed potsticker on a very floured surface. Repeat.*
To cook, pre-heat a very generous splash of oil in a very large frying pan on medium-ish heat, then array the potstickers in the pan, and cook until the bottoms are browned. At this point, very quickly add about a cup of water, then clamp a lid on the frying pan before you get splattered with hot water. They'll steam and continue to cook for about 5-8 minutes. When the water has steamed off, continue to cook them a minute more to allow them to firm up.
Serve with the dipping sauce!
(*If you want to freeze the extras, before you cook, arrange the potstickers so they aren't touching on a cookie sheet, freeze until solid, then place them in a tupperware or plastic bag.)

The Results: These were a HUGE hit. Totally delicious, with a great chewy texture on the outside and full of hot zesty flavor on the inside. At this point, you can probably tell I'm a fan of starchy, soul-satisfying comfort foods (pasta, gnocchi, pierogi...) so I'm not surprised that I loved the potstickers. Will I make them again? Definitely! I'd enjoy trying them with chicken, or mixing up the herbs a bit. Far from being intimidating, they were simple, fun to make, and are a (fairly) healthy snack (or meal, in my case.) They'd also make an impressive food to serve at a party, and would be fun to cook with kids. (Particularly if they are picky kids- they could make their own mixture.) If you make some- let me know how they turn out for you, and let me know what's in your filling!
Cheers!